All the news, blog posts and FB posts are about the Corona virus these days. Easter, which is normally a time to be with your family and loved ones, will be different this year as we have to stay at a distance. But does not let that stop you and bring the joy of Easter in your home with those last minute decoration tips. Easter will be there before you know.

You don’t need a lot, all that you need can be found in your kitchen, fridge or garden. So start by taking out the eggs and we will dye them with teas, spices, veggies and fruits.
Put a pot of water on the stove, when the water is boiling you can add your veggies, species or tea for color. Don’t forget to add also a few table spoons of vinegar as it will help the color to bind to the eggs.

What is THE color for Easter? Yes, yellow. Dyeing your eggs with tumeric is super easy. You should take care as it stains everything. You would like to have some yellow napkins for the Easter lunch? It is the moment to dye some fabrics than too.
I leave the eggs boiling for 10 minutes, turn of the heat and let the eggs remain in the water for a few hours. Check periodically the color.

Still some blue berries in the freezer? Use them to give your eggs a nice blue tone. Use different types of eggs, for a nice variety of tones. White and brown chicken eggs, duck eggs, quail eggs.

Winter is gone, spring is there but we can still find some red cabbages at the market or in our pantry. Cut them in big pieces, it will be easy to hide your eggs under them.

Use a tea holder when you dye your eggs with tea, it will be easier when you take them out of the water, the eggs will not have all the tea stick on them. Hibiscus tea will give them a nice dark blue tone.
Other option you can use are: coffee, beetroot, skin of yellow onions, spinach, different tea varieties.

This year I dyed the just egg shells. In this case you have to take more care as the shells will get even more fragile. Let the egg or egg shells dry well. You can add a few drops of olive oil, coconut oil, or whatever oil you have in the kitchen, to a paper towel and rub the eggs for a glossy finish.

Safe the tray of the eggs, it will be used as the base for our center table piece.

Our eggs shells are colored. Next step is to fill them. The first option is to fill it with some seeds. You have some soil? Take some in the garden or “borrow” some from one of your plants. you don’t need a lot. Fill the shell 2/3 with the soil, add some seeds and cover more with some soil. Add water till soil is moist. With patience, water and sunshine you will have some greens popping up. No soil, no seeds? No problem, fill them with some micro greens.

I turned the rest of the egg shells in candles. Put the candle wax in a small glass container, Put some water in a pot on the stove, heat the water and drop the glas container in the water to melt the wax. In the mean time you can fix the wick around a toothpick and hang it in the egg. As soon as the wax is melted you can pour it in the shell. Later in the day you can cut the wick short.

Now you are ready to make your table center piece. Take out the tray of the eggs, divide your egg shells in the tray, combine them with some quail eggs and some dried hay. And you are ready.
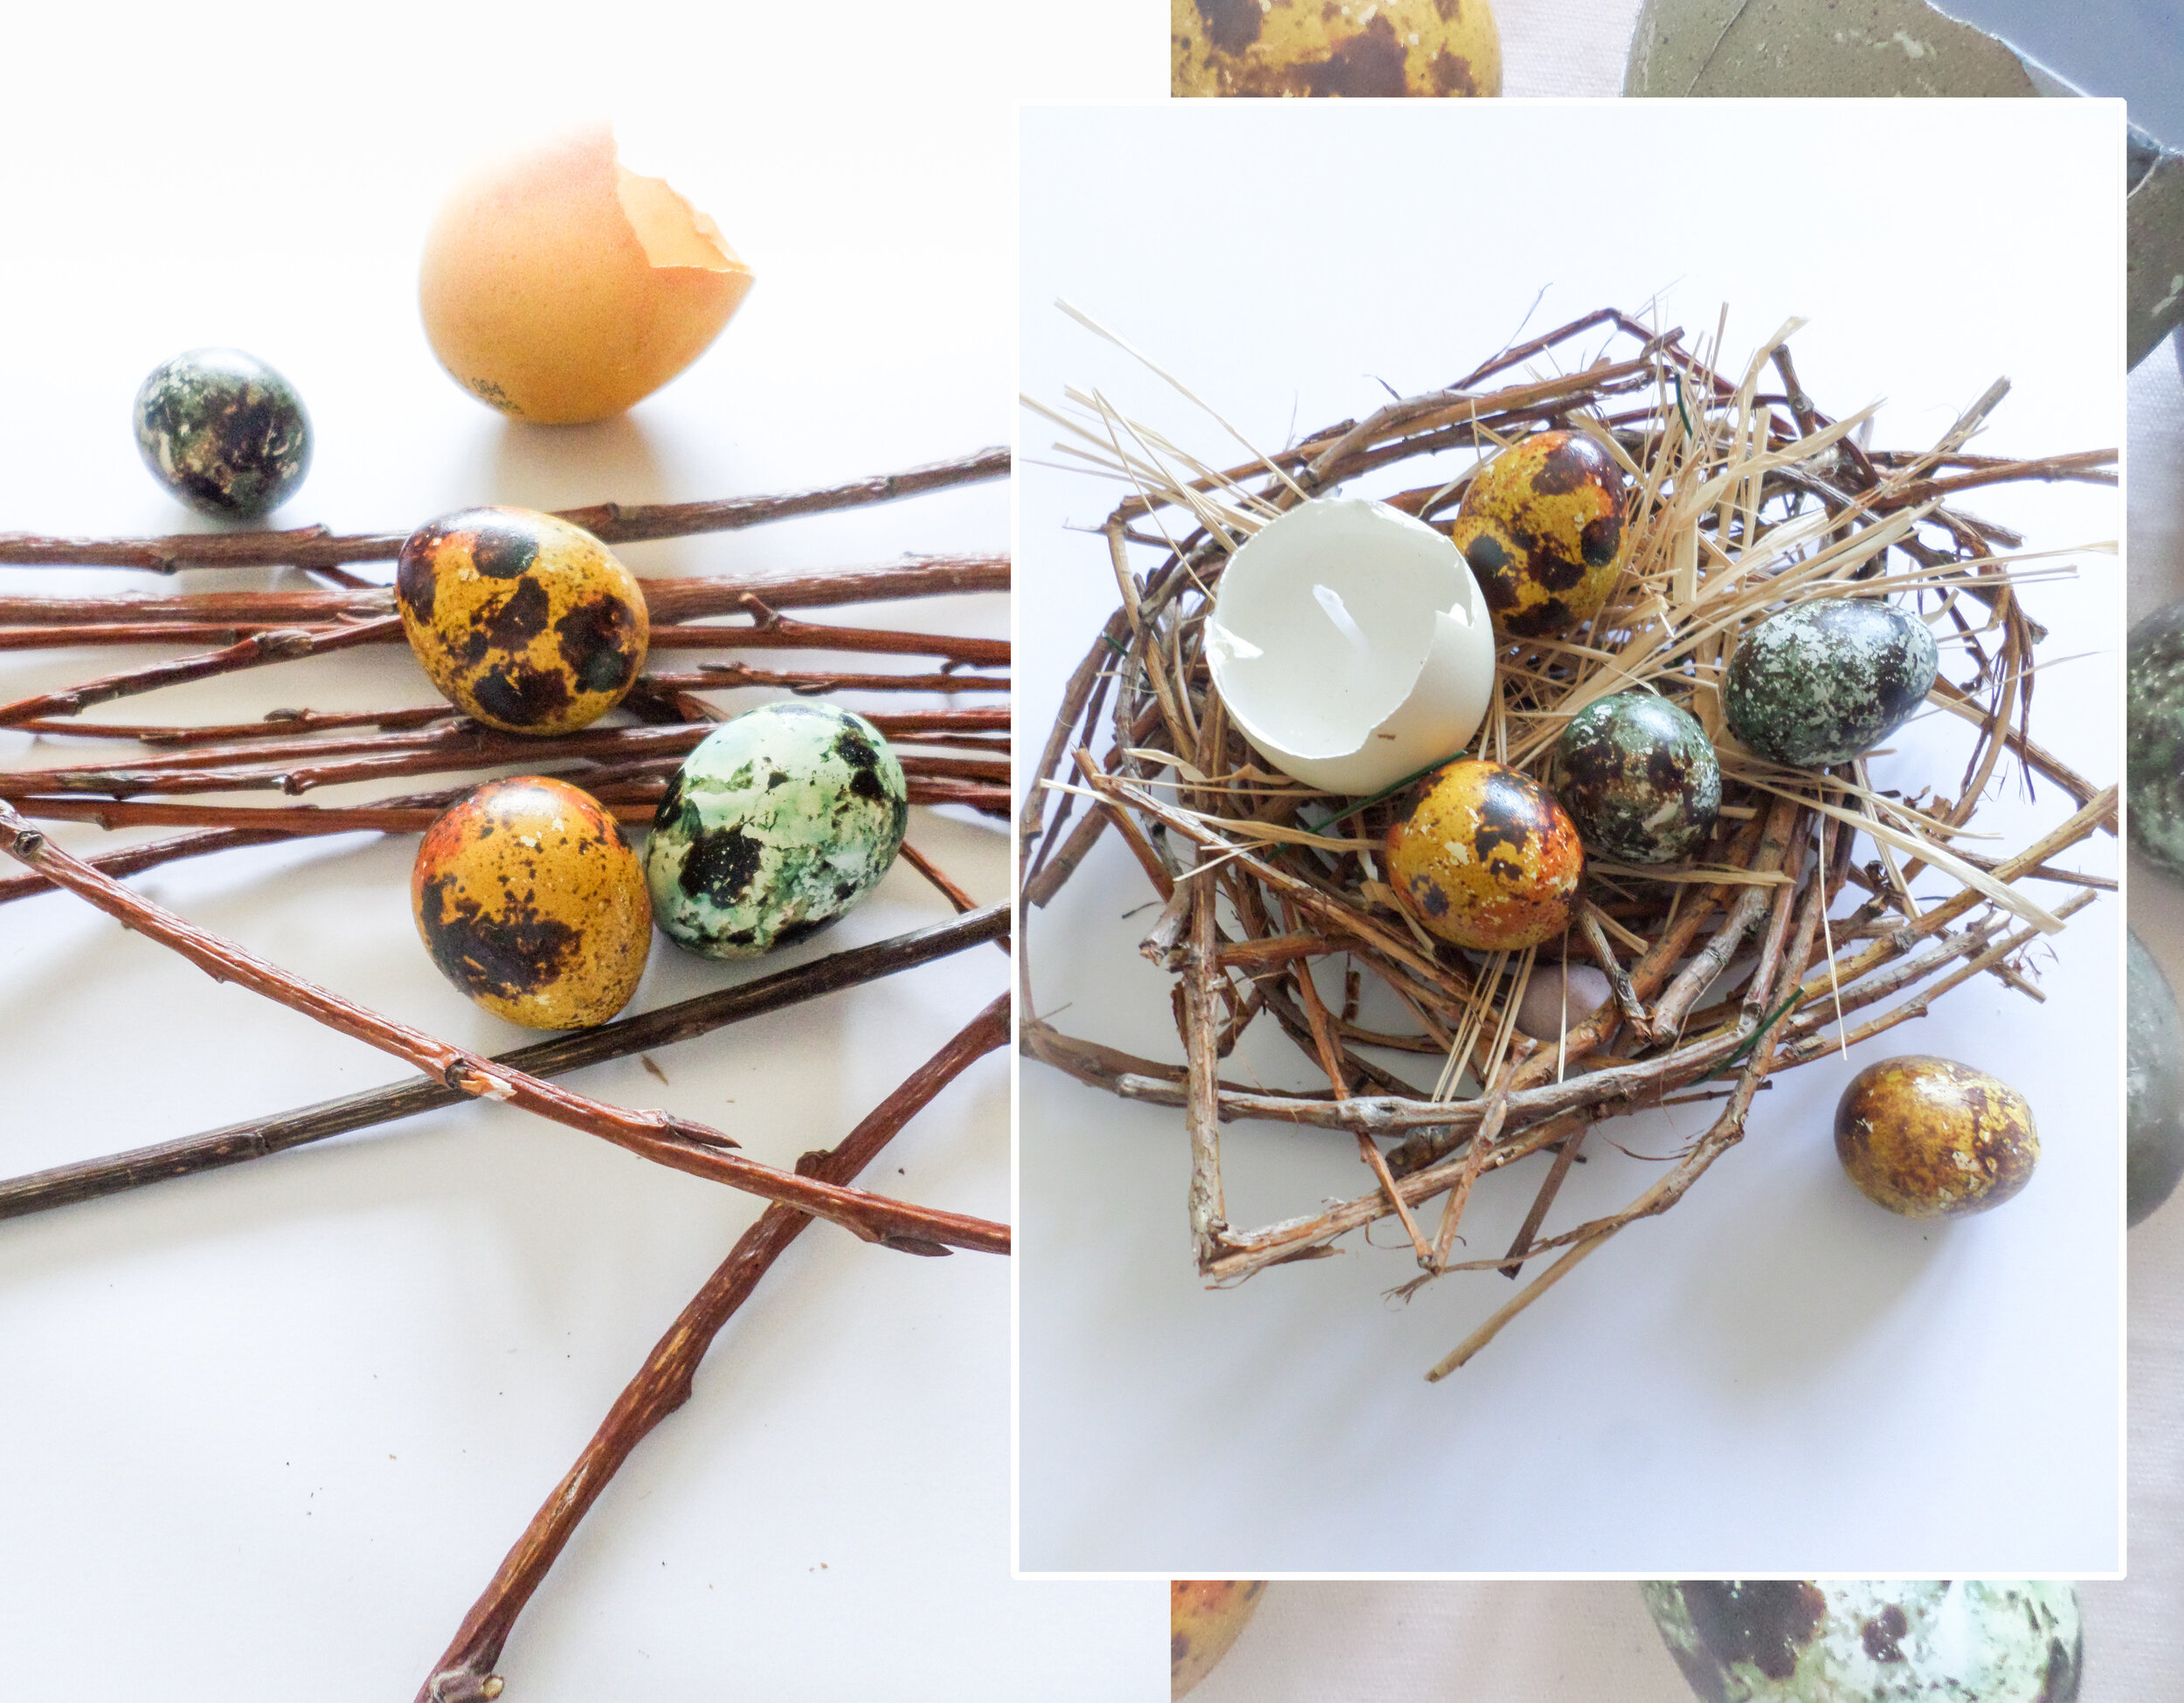
If you have to chance to make a walk in the forest or you have some trees in the garden than you could look for some small branches and create, with a lot of patience a birds nest. Intertwining the branches and fixing them here and there with a metal wire or natural yarn.

Lets create still a piece to hang on the wall or in front of the window. You can replace the fine branches with a wooden spoon out of your kitchen. Take some cotton yarn, cut 4 pieces of 1 m (40”). fold them half and fix them with a loop around the branches. Divide them now in 4 sets of 2 yarns. Make in each set a simple knot. Now take 1 yarn from set 1 with 1 yarn from set 2 and make a knot a few cm lower. Continue with the 2nd yarn from set 2 and 1 yarn from set 3. The 2nd yarn from set 3 you combine with the 1st yarn from set 4. Now you take the 2nd yarn from set 4 and make a knot with the 2nd yarn from set 1. You can repeat this still once. Than finish with making a simple knot, all yarns together. Or finish with a colorful yarn as in the picture above. Add some small flowers of greenery and your are ready for Easter.
Hope you found inspiration for a joyful Easter celebration. Wish you a happy Easter.
This Friday, 10 April I’ll explain you all life via Zoom. Send me a message if you want to join me. You will get a Zoom link to join. We will meet at 4PM EET / 3PM CET / 9AM ET. And if you would like to get the full presentation send to join than don’t forget to subscribe to my newsletter.